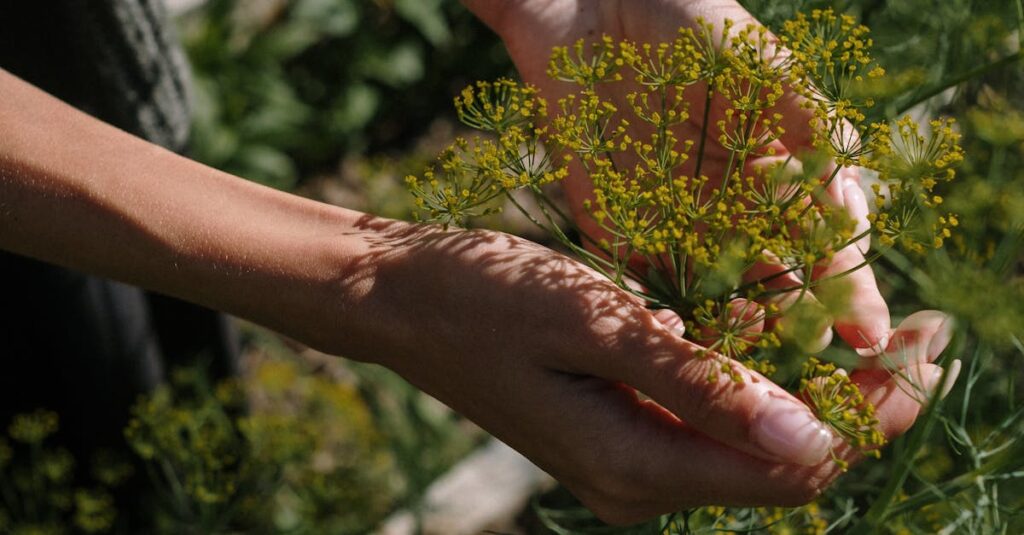
Dill is a popular annual herb known for its fragrant, feathery leaves and seeds that are commonly used in cooking, pickling, and medicinal purposes. Dill is a cool-season herb that thrives in the early part of Missouri’s growing season, making it a perfect addition to your garden.
1. Choosing the Right Variety
Popular Dill Varieties for Missouri:
- ‘Fernleaf’ – A compact variety ideal for containers or small spaces, with a robust flavor.
- ‘Dukat’ – Known for its high yield and mild flavor, it’s great for pickling.
- ‘Mammoth’ – A taller variety with a more intense flavor, commonly used in larger garden settings.
2. Planting Time
Best Planting Window:
- Indoor Starting: Dill is best directly seeded outdoors, as it does not transplant well. If you want to start seeds indoors, do so 4-6 weeks before the last frost.
- Outdoor Planting: Directly sow dill seeds outdoors after the last frost date, typically mid to late May. Dill prefers cooler temperatures, so planting earlier in spring allows it to grow before the hot summer weather arrives.
Tip: Dill is sensitive to frost, so avoid planting it before the danger of frost has passed.
3. Site Preparation
Sunlight Needs:
- Dill needs full sun, requiring 6-8 hours of direct sunlight per day for optimal growth.
Soil Requirements:
- Well-drained soil with a neutral pH (around 6.0-7.0) is ideal for dill.
- Dill prefers light, loamy soil with good drainage, and can tolerate a variety of soil types but thrives best in fertile, moderately rich soil.
- Amendments like compost can be added to improve soil quality, but avoid adding too much nitrogen, as it can cause the plant to grow too tall and weak.
4. Planting
Spacing:
- Space dill plants 12-18 inches apart to allow for proper airflow and prevent overcrowding.
- Rows should be spaced about 18-24 inches apart to allow room for growth.
Planting Depth:
- Sow seeds ¼ to ½ inch deep in well-prepared soil.
- Thin plants to 12-18 inches apart as they grow to allow for proper development and airflow.
Watering Immediately after sowing to help establish the seeds.
5. Watering & Maintenance
Watering Needs:
- Dill requires consistent moisture, but avoid overwatering. Water 1 inch per week, allowing the soil to dry slightly between waterings.
- Deep watering is best, especially during dry periods.
Pruning:
- Pinch back the flowers to encourage leaf growth, especially if you want to use the leaves for cooking.
- If the dill begins to flower, it can still be used, but once the plant bolts (starts producing seeds), the leaves lose their flavor.
6. Mulching & Winter Protection
Summer Mulching:
- Apply mulch like straw or grass clippings around the base of the plant to help retain moisture and suppress weeds.
Winter Protection:
- Dill is typically grown as an annual, so it is not expected to survive Missouri winters. However, you can collect seeds in late summer and save them for next season.
- If you want to grow dill as a perennial (in containers or mild winters), you may need to provide winter protection with cold frames or cloches.
7. Companion Planting
Good Companions:
Cabbage family (Brassicas) – Dill helps repel aphids and cabbage worms.
Lettuce – Dill’s aromatic oils can deter pests from lettuce.
Carrots – Dill’s aroma can help protect carrots from carrot flies.
Onions – Dill and onions can benefit from each other in the garden.
Avoid planting near:
Carrots (when dill is flowering) – Dill can inhibit carrot growth if grown in close proximity when in full bloom.
Tomatoes – Dill and tomatoes can inhibit each other’s growth, so it’s best to plant them away from each other.
8. Common Problems & Solutions
Pests:
- Aphids – Use insecticidal soap or introduce ladybugs to control aphids that may infest dill.
- Caterpillars – If caterpillars are a problem, hand-pick them or use an organic pesticide.
- Cutworms – Prevent cutworms by using collar rings around the stems of young dill plants.
Diseases:
- Powdery Mildew – Ensure good air circulation around your dill by spacing it well and avoid wetting the foliage during watering.
- Downy Mildew – Prevent by keeping the garden area clean and removing infected plants.
9. Harvesting
Harvest Time:
- Dill is typically ready for harvesting about 6-8 weeks after planting, when it reaches a height of 12-18 inches.
How to Harvest:
- Leaves: Harvest dill leaves by snipping off sprigs, cutting them close to the stem. It’s best to harvest early in the day when the plant’s flavor is at its peak.
- Seeds: If you want to collect seeds, allow the flowers to bloom and set seeds. Harvest seeds when they are brown and dry on the plant.
Tip: For a continuous harvest, cut back leaves regularly to promote new growth.
10. Drying & Storage
Drying Dill:
- Hang the stems upside down in a warm, dry area with good air circulation.
- Dill typically takes 1-2 weeks to dry, depending on the humidity and air circulation.
Storage:
- Once dried, store dill in airtight containers in a cool, dark place for up to 6 months.
- For longer shelf life, store seeds in a sealed container and place them in the refrigerator.
11. Missouri-Specific Considerations
Heat & Humidity:
- Dill thrives in Missouri’s cooler spring and early summer months, but can struggle in the hot and humid mid-summer temperatures.
- For a continuous harvest, plant dill early and consider succession planting every few weeks for a fresh supply of leaves.
12. Summary of Key Tips
✔ Plant dill in full sun with well-drained, fertile soil.
✔ Sow seeds ¼ to ½ inch deep and space plants 12-18 inches apart.
✔ Water consistently but avoid overwatering.
✔ Pinch back flowering dill to encourage leaf production.
✔ Harvest leaves early in the day and collect seeds when ripe.
✔ Store dried dill in an airtight container in a cool, dark place.